Most viewed - Bean's Gallery Most viewed - Bean's Gallery |

699 views
|
|
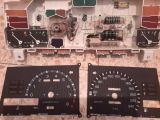
Step 06: light distributors694 viewsremove the two light distributors, they are not screwed in anymore just held in position with two locating pegs
|
|

Conversion test successful693 views10.44kOhm instead of 15kOhm
|
|
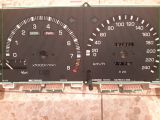
Step 05: fascia panels693 viewsremove the two fascia panels
|
|
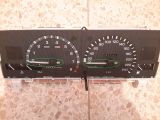
Step 03: tacho and speedo needle682 viewsremove the 2 needles, a thin fork makes it easier (just put something between the fork and fascia to prevent scratches)
|
|
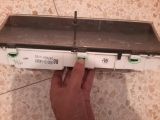
Step 01: retaining tabs top (3)678 viewspush down on the 3 retaining tabs on the top (best start on the side) to loosen the transparent cover
|
|
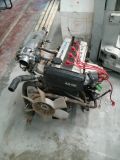
670 views
|
|
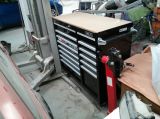
14 drawer cabinet663 views
|
|
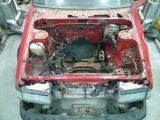
654 views
|
|
647 views
|
|
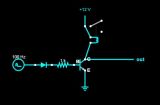
tacho amp circuit635 viewscircuit to change a 5V square wave signal to a high voltage spike signal to run tachometers which ran of the coil -
|
|

rpm simulation on OEM cluster627 views
|
|
10krpm custom fascia in motion626 views
|
|
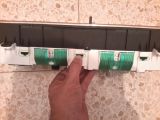
Step 02: retaining tabs bottom (3)619 viewspush down on the 3 retaining tabs on the bottom (best start on the side) to remove the transparent cover
|
|
616 views
|
|
|
|